How-To
EV Charger Install Day What to Expect
1. Start with access, a site review, and the final load calculation
Install day starts by confirming the charger location, the electrical route, and the load calculation before the final charging amperage is set.
That last point matters. A charger advertised as 48 amps is not automatically installed at 48 amps. The electrician has to look at the home’s service size, main breaker, panel space, existing loads, and the charger’s continuous load before choosing the breaker size and commissioning setting. In Ontario, EV charging is treated as a real electrical load, not just “another plug in the garage.”
Before we drill, mount, or pull cable, expect a review of:
- Main service size and panel rating
- Available breaker spaces and whether tandem breakers are already in use
- Existing large loads such as ranges, dryers, heat pumps, hot tubs, saunas, and electric heating
- Distance from the panel to the charger location
- Wall and ceiling finishes along the route
- Indoor, garage, driveway, or fully outdoor exposure
- Whether the charger will be hardwired or installed on a receptacle
If the load calculation shows the panel is tight, the installer should stop and explain the options. Those may include lowering the charger output, adding an approved load-management device, or planning a panel upgrade. If the panel upgrade is the right path, the work becomes a different day with utility coordination; our panel upgrade day guide explains what that involves.
For homeowners still choosing between charger sizes, the practical question is usually charging speed versus available capacity. We cover that separately in 40 amp vs 48 amp EV charger, but the install-day rule is simple: the panel and wiring decide the safe setting, not the number printed on the charger box.
Have the charger, mounting bracket, Wi-Fi information, and vehicle-side charging preferences ready if the charger uses an app. Also clear the panel area. The electrician needs safe working space in front of the panel, not a narrow path between storage bins, tires, and shelving.
2. The conduit or cable route is chosen before any holes are made
The route is chosen to protect the wiring, keep the installation serviceable, and avoid unnecessary damage to finished surfaces.
In an unfinished garage, the route may be direct: from the panel, across joists or wall framing, then down in conduit to the charger. In a finished garage, the electrician may use surface-mounted conduit, a ceiling route, or a carefully planned wall penetration. In a driveway installation, the route often has to leave the house through a weatherproof fitting and continue to an exterior wall or post. For a fully outdoor charger, wet-location fittings, mechanical protection, and the correct cable or conductors become central to the job.
You should expect a short discussion before the route is finalized. A good route balances appearance with code compliance. The shortest route is not always best if it crosses a storage area where conduit will be hit, passes too close to a garage door track, or lands the charger where the cable will be stretched across a walkway.
Common install-day routing details include:
- Surface conduit in garages where the wall is already finished
- Sleeved penetrations through brick, block, or siding
- Weatherproof exterior junctions where the circuit exits the building
- Straps and supports at proper intervals so conduit is not left loose
- Protection from vehicle impact, snow shovels, lawn equipment, and garage storage
- Charger height and cord reach based on the vehicle’s charge port location
For driveway chargers, think about how you park now and how you may park later. Some homes alternate between nose-in and reverse parking depending on snow, family vehicles, or charger cord length. If the charger is going on the outside wall, the mounting spot should let the cord reach without crossing the main walking path to the front door.
For outdoor chargers, the unit must be approved for the location, mounted securely, and installed with fittings suitable for rain, snow, freeze-thaw movement, and UV exposure. Do not assume an indoor-only charger can be tucked under an overhang and treated as weatherproof.
3. Mounting, wiring, and breaker work happen with the circuit de-energized
Once the route is confirmed, the installer mounts the charger, runs the wiring, lands the breaker, and labels the new circuit.
The power may need to be shut off to the panel while the breaker is installed and terminations are made. For many homes this is brief, but plan as if Wi-Fi, clocks, computers, and garage door openers may lose power. If someone works from home, uses medical equipment, or depends on powered access through the garage, discuss timing before the panel is opened.
The installation usually includes:
- Mounting the wall connector or receptacle box to structure, not just drywall
- Running properly sized conductors for the selected breaker and charger setting
- Installing conduit or approved cable protection where required
- Installing the correct breaker type for the circuit design
- Terminating grounding and bonding conductors correctly
- Labelling the breaker and charger disconnecting means where applicable
- Setting the charger’s maximum output in hardware or software
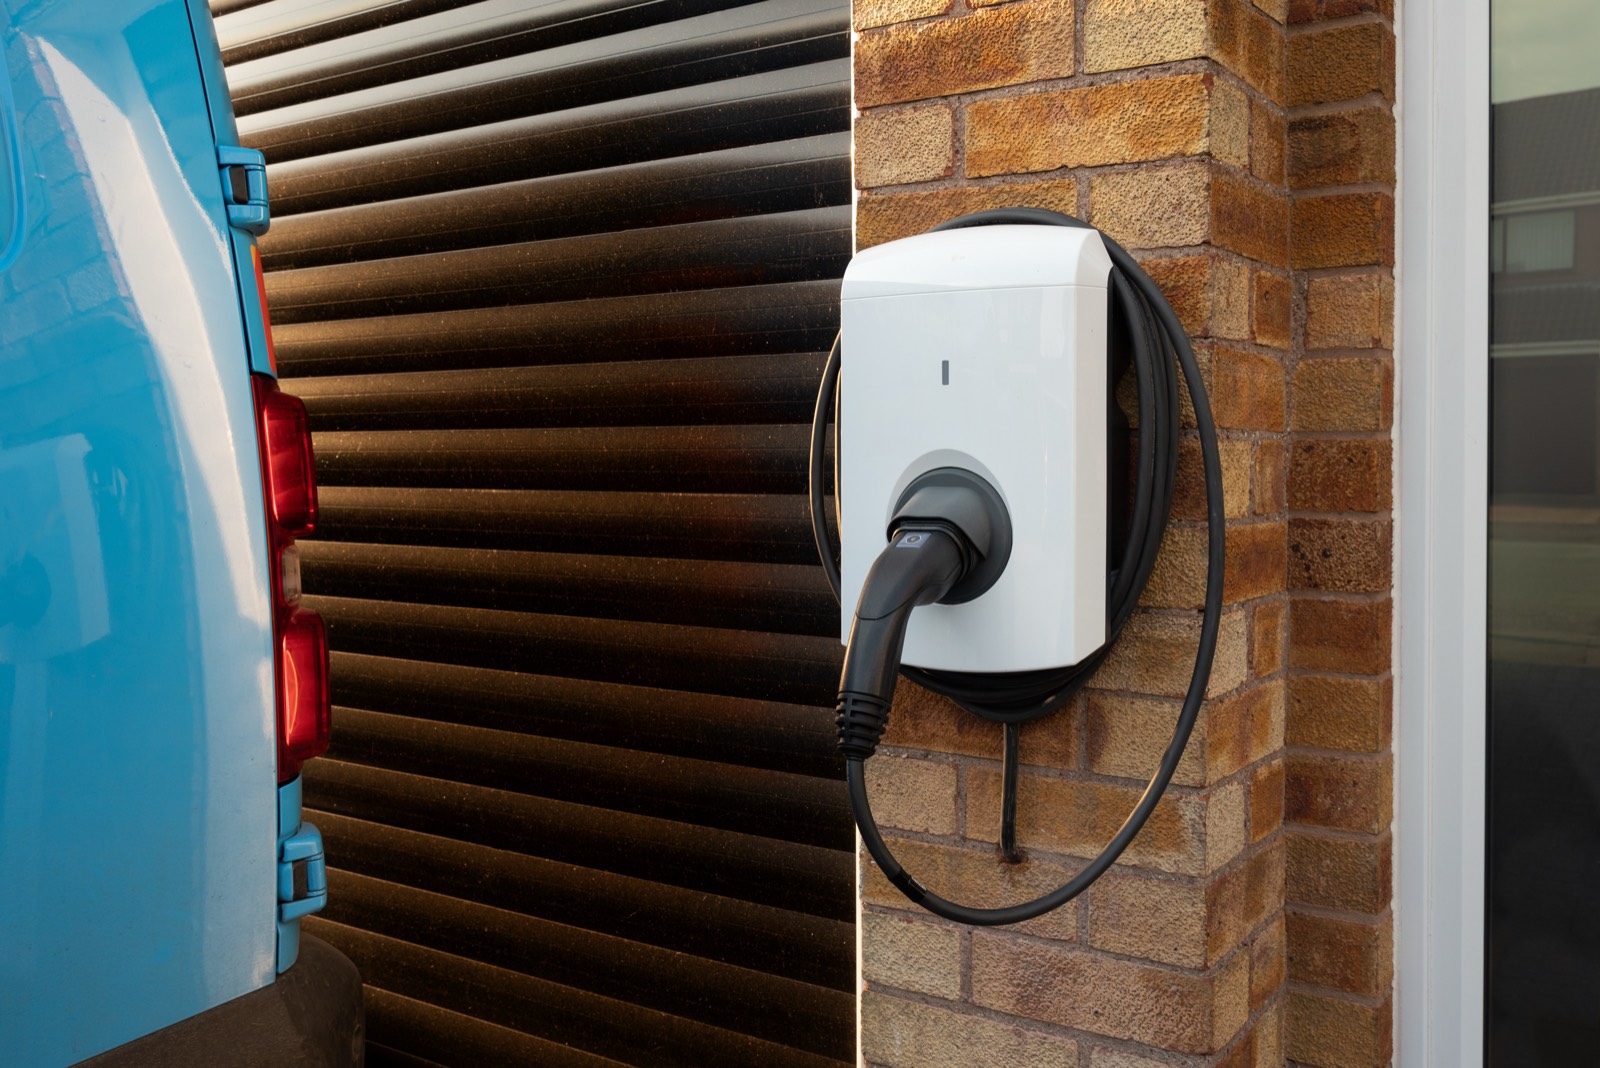
Garage installs are often cleaner when the charger is placed close to the panel, but convenience still matters. A charger mounted behind stored bikes or beside garbage bins quickly becomes frustrating. The best location gives the cable a natural loop, keeps the connector off the floor, and avoids a trip hazard.
For plug-in EV chargers, the receptacle must match the circuit and be installed correctly for the load and location. For hardwired units, the conductors terminate directly in the charger. If you are not sure which approach fits your home, read hardwired vs plug-in EV charger before install day so the decision is not rushed while the electrician is standing at the panel.
Safety warning: do not pre-run your own cable, buy a random breaker online, or ask the installer to “just use what is there” from an old welder or dryer circuit. EV charging is a long-duration load. Loose terminations, undersized conductors, weak receptacles, and mismatched breakers can overheat slowly and repeatedly. If any existing wiring looks burnt, brittle, corroded, spliced poorly, or unlabelled, stop and have it assessed before the charger is connected.
4. Testing proves the charger, circuit, and car communicate properly
Testing is the step that confirms the electrical work is safe and the charger is actually ready for daily use.
After the circuit is energized, the installer checks the charger status, verifies voltage, confirms the programmed amperage, and tests charging with the vehicle where possible. If the charger uses Wi-Fi or an app, this is also the time to connect it, update settings, and confirm the owner can see the unit online.
A proper commissioning check may include:
- Verifying voltage at the charger or receptacle
- Confirming breaker size against conductor size and charger setting
- Checking that the charger is limited to the approved output
- Looking for fault lights, nuisance trips, or startup errors
- Confirming the vehicle begins charging normally
- Reviewing cable storage and strain relief
- Explaining how to stop charging safely and reset a fault
Some charger errors are not wiring defects. Wi-Fi setup, vehicle charging schedules, utility rate settings, and app permissions can make a charger appear inactive even when the circuit is correct. If your vehicle is scheduled to charge overnight, the charger may show “connected” but not deliver power immediately. That is normal when the car is delaying the session.
If the breaker trips right away, the charger shows a ground fault, there is a burning smell, the panel buzzes, or the receptacle or connector feels warm, stop using the charger and call the installer. Do not keep resetting a breaker to “see if it clears.” Repeated tripping is information, not an inconvenience.
For outdoor installations, testing should also include a look at covers, seals, drainage, cord position, and whether the connector can be stored off the ground. Snow piles, salt spray, and standing water are real GTA conditions, not theoretical details.
5. ESA paperwork and inspection are part of the job, not an afterthought
In Ontario, a new EV charger circuit normally requires an ESA notification, and the paperwork should be handled as part of the installation.
The ESA notification is the permit process for electrical work. It tells the Electrical Safety Authority that electrical work is being done and allows for inspection where required. The inspector may not arrive the same hour the charger is installed; the installation can be completed first, then inspected according to ESA scheduling and the type of work.
The inspection focus is not whether the charger looks nice. It is whether the installation follows the Ontario Electrical Safety Code. For an EV charger, the ESA inspector may look at:
- Breaker, conductor, and charger rating compatibility
- Load calculation and service capacity where relevant
- Proper grounding and bonding
- Mechanical protection for wiring and conduit
- Wet-location fittings for outdoor work
- Labelling at the panel and equipment
- Workmanship at terminations and penetrations
Keep the charger manual available, especially if the output setting is configured internally or through software. Some chargers use dip switches, some use commissioning apps, and some require installer credentials. The final amperage setting should be clear to the homeowner and supportable by the circuit.
If you are comparing advice online, remember that Ontario rules and ESA processes matter here. A video from another province or country may show a method that is not acceptable in your home. For a plain-language permit overview, see Do I need a permit to install an EV charger in Ontario?. For the inspection-day side of the process, our ESA inspection day guide explains what typically happens after the notification is filed.
City Power Electrical Services is an ECRA/ESA licensed electrical contractor, #7015314, and we provide free written estimates for EV charger installations across Toronto and the GTA from our North York office.
6. Be ready for the electrician, and know when the plan has to change
The smoothest EV charger install days happen when the parking area, panel, charger parts, and decision-makers are ready before the electrician arrives.
Before the appointment, move the vehicle, clear the garage wall, unlock the electrical room, and remove stored items from in front of the panel. If the charger is going outside, clear snow, bins, planters, hoses, or patio furniture from the wall. If the route crosses a finished basement ceiling, storage room, or mechanical area, make those spaces accessible too.
Have these items ready:
- Charger unit, mounting bracket, screws, and any manufacturer-supplied template
- Vehicle available for test charging if possible
- Wi-Fi name and password if the charger needs setup
- App login or account access for charger commissioning
- Condo, rental, or property-management approval if the parking area is not fully yours
- Any utility, builder, or previous electrical documents you already have
Condo and shared-parking installations are different because the route may cross common elements, the panel may not be in the suite, and board approval may be required before work starts. If that is your situation, start with condo EV charger installation cost so the approval and infrastructure questions are handled before an install date is booked.
Stop and call before install day if you notice any of these issues: a fuse panel, a full breaker panel, scorch marks, warm breakers, buzzing, water near the panel, aluminum branch wiring at the proposed tie-in area, an unlabelled subpanel, or a charger location more complicated than originally described. These do not always prevent an EV charger, but they can change the design.
For a standard home install, the final result should be simple: a dedicated EV charging circuit, a securely mounted charger, a safe route from panel to parking spot, the correct programmed amperage, test charging, and ESA paperwork in motion. If you want that handled as one project, book through our EV charger installation service.
Want a licensed electrician to take a look?
Free written quote, usually the same day. ESA permits handled.