How-To
Label Electrical Panel
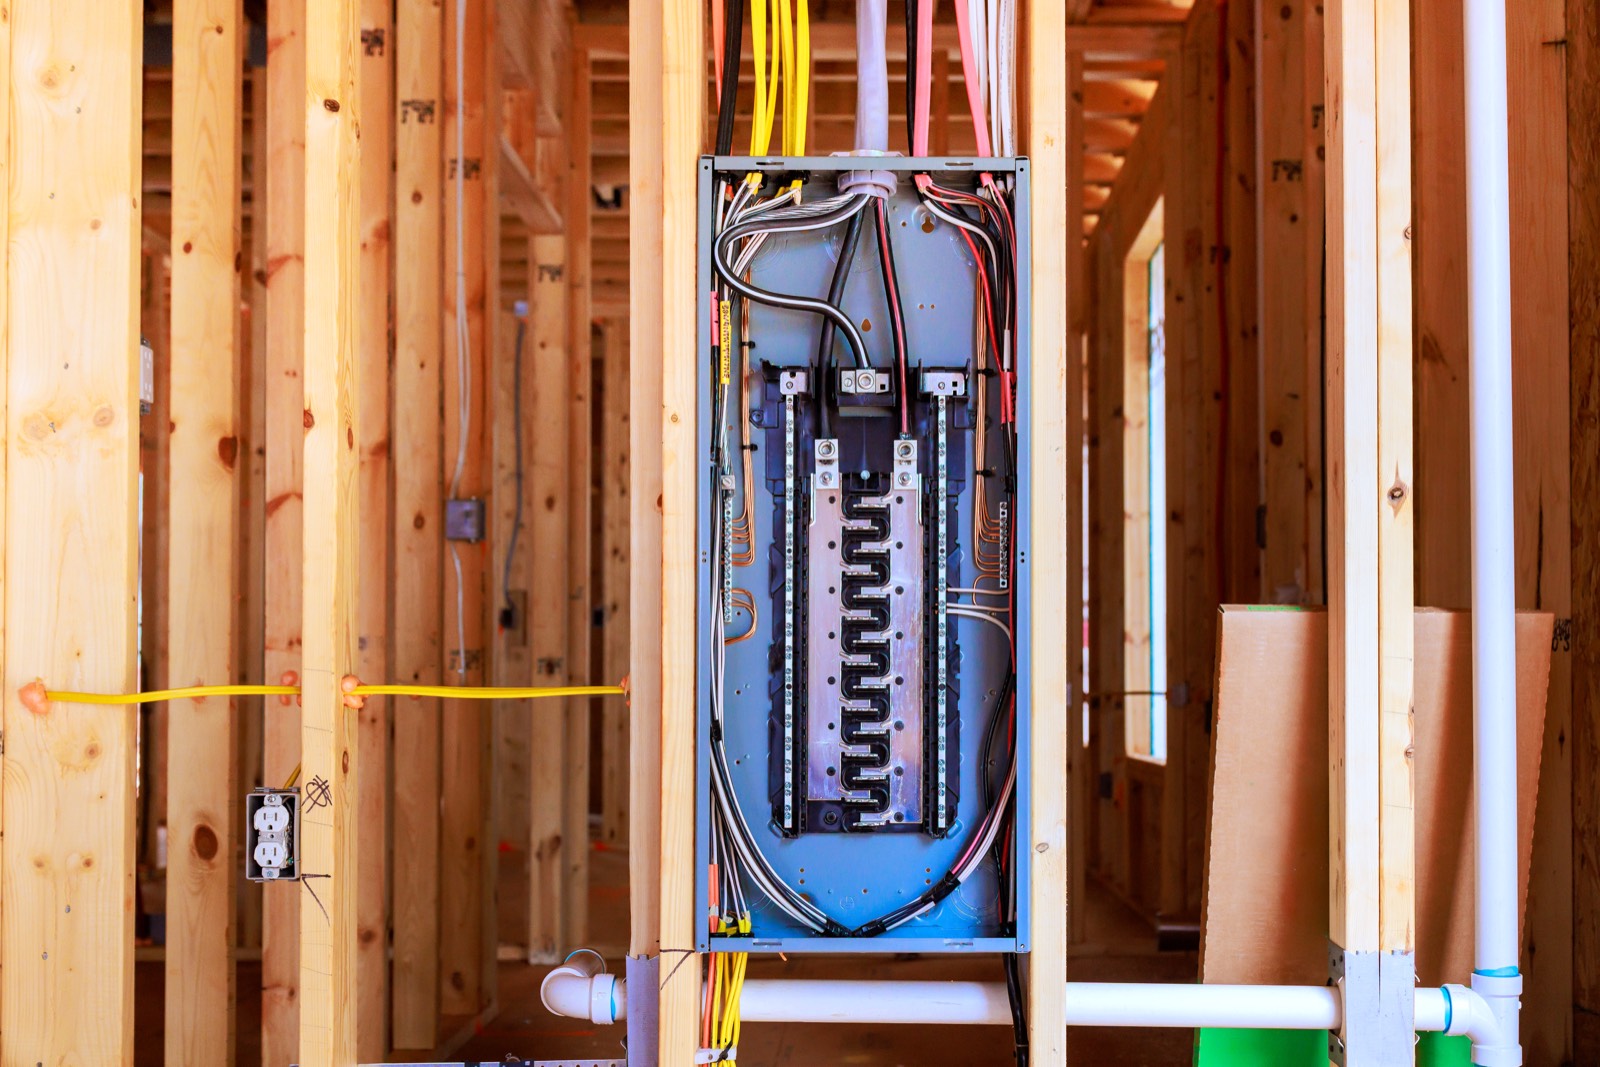
An unlabelled electrical panel is more than an annoyance. When a receptacle sparks, a basement circuit trips, or a contractor needs to isolate one room, guessing at breakers wastes time and can leave the wrong circuit energized.
You can label many residential panels safely from the outside of the panel using a helper, lights, and plug-in testers. The key is to work slowly, label what you actually confirmed, and stop before you cross into work that belongs to a licensed electrician.
Do not remove the panel cover, often called the dead front. Do not touch bus bars, lugs, service conductors, or any internal panel parts. Labelling is a cover-on task. If the cover must come off, or if breakers are loose, warm, damaged, doubled-up, or arcing, stop and book service through a licensed contractor.
1. Start with a safe panel check before switching breakers
Start by looking at the panel from the outside only. You are checking whether it is safe enough to proceed with basic breaker identification, not inspecting the inside.
Stand on a dry floor, keep one hand away from the panel where practical, and make sure the panel area is well lit. The panel door should open freely, and the directory should be readable or removable. If it is missing, you can make a temporary sheet and later transfer the final labels to the panel directory.
Before you turn anything off, look for warning signs:
- A burning smell, buzzing, crackling, or visible scorching
- Breakers that feel loose in the panel
- Breakers that will not reset or immediately trip again
- Rust, water staining, or dampness around the panel
- A fuse panel, mixed old equipment, or obvious amateur additions
- Circuits marked vaguely as “old kitchen,” “back wall,” or “do not touch”
If you see those issues, labelling can wait. The safer next step is a professional assessment. Our guide on how to read an electrical panel explains the basic parts you can identify from the outside, and signs you may need a panel upgrade covers red flags that are more than a labelling problem.
Also plan around sensitive loads. Turning breakers off can interrupt Wi-Fi, computers, sump pumps, aquariums, medical equipment, clocks, fridges, freezers, furnace controls, garage door openers, and security systems. Save open files, warn everyone in the house, and choose a time when a short outage will not create a bigger issue.
2. Make a circuit map with a helper, lights, and plug-in loads
The safest way to label electrical panel circuits in a finished home is room by room with two people. One person stays at the panel. The helper moves through the house and confirms what turns off.
Use simple tools:
- A notepad or printed panel directory
- Painter’s tape or sticky notes
- A plug-in lamp, radio, or receptacle tester
- A phone call or video call between both people
- A flashlight or battery work light
- A fine marker for the final directory
Begin with lighting circuits. Turn on lights in the room you are testing. Have the panel person switch one breaker off, then immediately back on if it is not the target. The helper calls out what changed: “north bedroom ceiling light off,” “hall light still on,” “closet light off too.” Write that down beside the breaker number.
Then test receptacles. A receptacle circuit may serve part of a room, two nearby rooms, a hallway, or an exterior outlet. Plug a lamp or tester into every accessible receptacle in the room. Do not assume all outlets in one bedroom are on the same breaker. In renovated GTA homes, it is common to find one wall added to a newer circuit while the rest of the room remains on an older circuit.
Label by what you verified, not by what you expected. “Bedroom 2 east and north receptacles” is better than “bedroom.” “Living room ceiling light and front hall light” is better than “main floor lights.”
Work through the home in a consistent order:
- Basement or lower level
- Main floor
- Second floor
- Attic or loft areas if accessible
- Garage
- Exterior receptacles and lighting
- Mechanical room equipment
For finished basements, test carefully. Renovations often add pot lights, bathroom fans, receptacles, and dedicated appliance circuits years after the original panel was installed. That is one reason old directories become wrong. If your panel was never updated after a renovation, a new directory can prevent the next service call from starting with guesswork.
3. Label each breaker with specific, emergency-use wording
Good labels should help a person shut off the right power quickly under stress. Write for the person who does not know your house.
Use plain, specific names:
- “Kitchen counter receptacles — left of sink”
- “Dishwasher”
- “Fridge”
- “Basement bedroom receptacles”
- “Furnace and thermostat”
- “Garage door opener and garage ceiling light”
- “Front exterior receptacle and porch light”
Avoid labels that only make sense to one owner:
- “Sam’s room”
- “old office”
- “reno circuit”
- “misc.”
- “plugs”
- “lights”
Dedicated circuits deserve their own clear labels. Typical examples include range, dryer, dishwasher, microwave, sump pump, furnace, air conditioner, EV charger, hot tub, freezer, bathroom GFCI receptacles, and garage receptacles. If a breaker controls one fixed appliance, name the appliance.
Two-pole breakers need extra attention. These are the wider breakers tied together, usually serving 240-volt loads such as a range, dryer, air conditioner, EV charger, or some heating equipment. Label the appliance, not just “240V.” If a two-pole breaker is unmarked and you cannot safely identify it from normal switching tests, leave it as “unknown — electrician to verify” rather than guessing.
Also note GFCI and AFCI behaviour. Some breakers have test buttons. Some bathroom, kitchen, garage, exterior, and basement receptacles may be protected by a GFCI breaker or by a GFCI receptacle upstream. When you turn off or trip the breaker, several downstream outlets may go out at once. Your label should capture the area protected: “main bath GFCI and ensuite receptacle,” for example.
If a breaker supplies only part of a room, say so. Emergency labels are most useful when they point to the exact affected area.
4. Verify the panel directory and do one final pass
After the first room-by-room pass, do a second check before making the labels permanent. Mistakes happen when a helper misses a lamp, a switched receptacle is off at the wall switch, or a circuit feeds both a light and a hidden receptacle.
A good verification pass includes:
- Turn each breaker off one at a time and confirm the written label still matches
- Test switched receptacles with the wall switch both on and off
- Check garage, exterior, utility room, and unfinished basement receptacles
- Confirm fridge, freezer, sump pump, furnace, and internet equipment are back on
- Mark any circuit you could not confirm as “unknown” rather than inventing a label
Do not rely only on room lights. Many homes have lighting and receptacles split between different breakers. A bedroom ceiling light may stay on while half the receptacles are dead. A kitchen light may be separate from the counter receptacles. A basement bathroom fan may share a circuit with nearby lighting while the receptacle is GFCI protected elsewhere.
Once verified, transfer the labels neatly to the directory. If the panel door has an old handwritten card, replace it with a clean version. If there is no proper directory, use a durable sheet fixed inside the panel door without covering manufacturer labels, breaker markings, or warning information.
Keep your notes. A more detailed room-by-room circuit map stored near the panel can be useful for future renovations, troubleshooting, or an ESA inspection related to new work. The panel directory should stay concise, but your backup notes can include extra detail such as “upper half of duplex receptacle switched by entry switch” or “exterior rear receptacle on garage GFCI.”
Accurate labels matter most when something goes wrong. If a receptacle overheats behind furniture, if water gets into an exterior box, or if a contractor opens a junction box during renovations, the right label helps isolate the hazard fast. It also helps the next electrician quote and perform the work without spending unnecessary time tracing every circuit from scratch.
5. Stop and call a licensed electrician when the panel or labels do not make sense
Some panel labelling jobs uncover bigger issues. Stop the DIY process if the results do not make sense or if the panel shows signs of unsafe work.
Call a licensed electrician if you find:
- A breaker that controls unrelated areas across multiple floors with no clear pattern
- Lights dimming or flickering when a specific breaker is restored
- A breaker that trips during normal testing
- Warm breakers, buzzing, melting, or discolouration
- Double-tapped conductors visible only because a previous inspection noted them, or suspected overcrowding
- Missing knockouts, damaged panel cover, or exposed openings
- Circuits that appear to have been extended after a renovation without documentation
- A panel that is full and using unusual breaker combinations you do not understand
Do not remove the dead front to “just take a look.” The panel can contain live parts even when individual breakers are off, and the service conductors ahead of the main breaker may remain energized. That is not a homeowner troubleshooting area.
A licensed electrician can trace circuits with proper testers, correct unsafe breaker or directory issues, and identify whether the panel is simply poorly labelled or actually undersized, obsolete, or overloaded. If the issue is capacity, age, or layout, our panel upgrade service explains what is involved, and the timeline guide for how long a panel upgrade takes sets expectations for utility coordination, ESA notification, and reconnection.
If you are planning a renovation, addition, EV charger, basement finish, or major appliance change, it is worth checking whether the existing service is still appropriate. This guide on what size electrical panel a house needs is not in the link menu, so use this approved resource instead: what size electrical panel does my house need. A correct panel directory helps that load review start with facts.
City Power Electrical Services is an ECRA/ESA licensed electrical contractor, ESA #7015314, founded and run by Sam, a licensed electrician; we provide free written estimates in Toronto and the GTA when a labelling problem points to repair, inspection, or panel work.
Good labelling is simple, but it should be exact. Work from the outside, use a helper, verify each circuit, and never guess inside the panel. The goal is a directory that helps anyone shut off the right circuit quickly, safely, and without opening equipment they should not touch.
Want a licensed electrician to take a look?
Free written quote, usually the same day. ESA permits handled.