Answered by a licensed electrician
How long does an EV charger install take?
Quick answer
A simple Level 2 EV charger install beside or near the electrical panel usually takes half a day and is often completed in one visit. Long cable runs, outdoor mounting, finished-wall fishing, trenching, or a panel upgrade can turn it into a full-day or multi-visit job, especially once ESA notification and inspection timing are included.
Most EV charger installs take one site visit once the panel capacity, charger location, and ESA notification are sorted out. The fast installs are the simple ones: an attached garage, panel nearby, clear wall space, and enough electrical capacity for the charger circuit.
If the car is arriving this week, the timing depends less on the charger brand and more on the route from the panel to the parking spot. A short surface-mounted run in a garage is very different from a detached garage, a finished basement ceiling, an outdoor pedestal, or a 200-amp service upgrade.
City Power Electrical Services is a Licensed Electrical Contractor, ECRA/ESA #7015314, and for EV work we file ESA notifications where required, install to the Ontario Electrical Safety Code, and leave the work ready for inspection.
A simple garage EV charger install is usually a same-day job
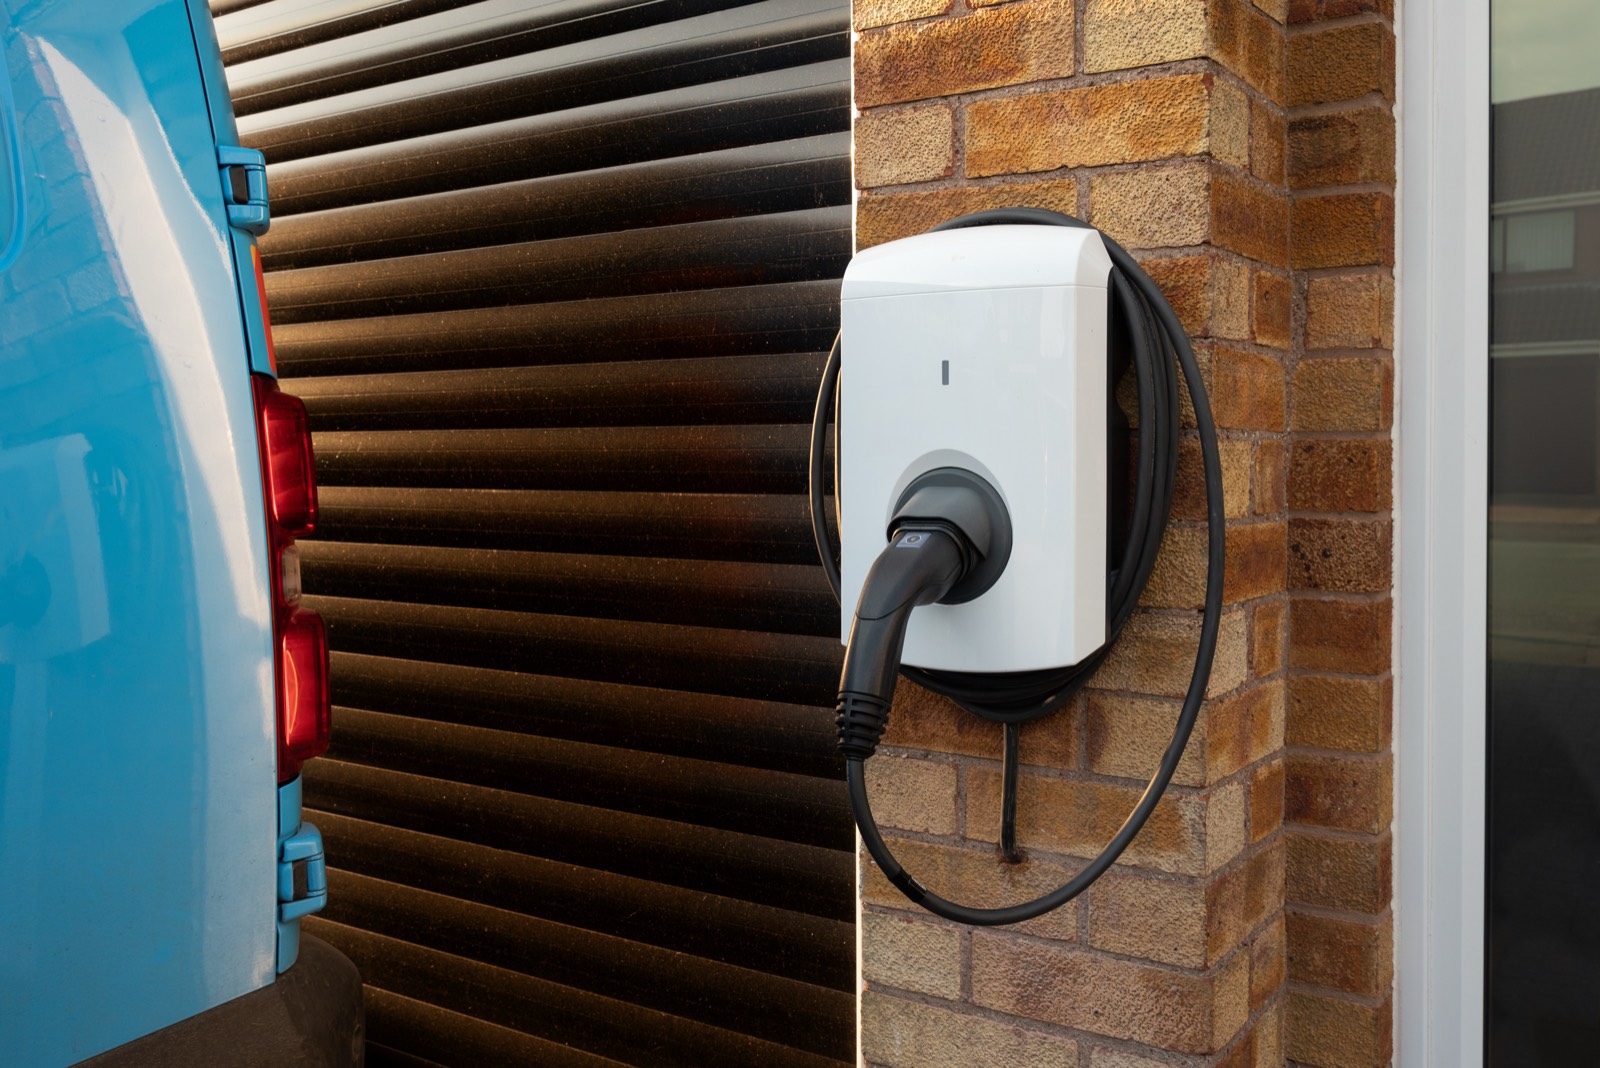
A straightforward same-panel garage installation is normally completed in one visit, often in a half day to full day depending on the charger, breaker, and cable route. This is the scenario where the panel is in the garage or very close to it, the charger mounts on the same wall or nearby, and the circuit can be run without opening finished ceilings.
A typical simple install includes:
- Confirming panel capacity and breaker space
- Mounting the charger or outlet box at the parking location
- Running the correctly sized cable or conduit from the panel
- Installing the dedicated breaker
- Hardwiring the charger or installing the approved receptacle, depending on the plan
- Labelling the panel and charger circuit
- Testing charging operation at the selected amperage
- Cleaning up the work area
For many homeowners, the install day is not a full construction day. The power may need to be off briefly while the breaker is installed and connections are made, but most of the time is spent routing cable cleanly, mounting the equipment, torquing terminations, and verifying that the charger communicates properly.
Hardwired Level 2 chargers are common because they avoid a plug-and-receptacle connection and can be set up neatly for daily use. Some owners choose a NEMA 14-50 style receptacle instead, but that still needs a dedicated circuit, correct breaker protection, a suitable box, and OESC-compliant installation. The best choice depends on the charger model and whether you want a fixed installation or a portable EVSE.
If you are still deciding what to buy, start with EV charger installation in Toronto and the GTA so the charger amperage, circuit size, and panel capacity are matched before install day.
Longer runs, outdoor chargers, and finished walls add time
The install takes longer when the charger is far from the panel, the cable route crosses finished space, or the charger is mounted outside. These jobs may still be done in one day, but they need more layout work and sometimes a second visit if trenching, concrete, drywall access, or utility coordination is involved.
Here is the practical difference:
| Install type | Typical time impact | What slows it down |
|---|---|---|
| Panel in garage, charger nearby | Fastest; often same visit | Short cable run, open wall, simple mounting |
| Panel in basement, charger in garage | Half day to full day | Finished ceilings, joist direction, route through foundation or garage wall |
| Outdoor wall charger | Often full day | Weatherproof fittings, exterior conduit, sealing penetrations, charger location |
| Detached garage or parking pad | Multi-step in many cases | Trenching, burial-rated wiring, conduit, distance, restoration |
| Condo or shared parking | Longer planning stage | Board approval, property management rules, metering, load management |
| Panel upgrade required | Separate major step | Utility disconnect/reconnect, ESA inspection, service work |
Outdoor installs need more than just a charger rated for exterior use. The cable or conduit has to be protected from physical damage, wall penetrations must be sealed, and the charger should be placed where the cable reaches the charge port without crossing a walkway in a way that creates a trip hazard. Snow storage, driveway layout, and where the car parks in winter all matter.
Long indoor runs also need careful planning. A finished basement ceiling can turn a short straight-line distance into a longer route around bulkheads, ducts, steel beams, and finished rooms. Fishing cable through finished areas takes time because the goal is to avoid unnecessary wall damage while still keeping the installation serviceable and code-compliant.
Detached garages and parking pads are usually the least predictable. Burial depth, conduit type, driveway crossings, existing landscaping, and whether the garage already has a sub-panel can change the timeline. These are not good candidates for a blind quote based only on the charger box.
ESA notification and inspection affect the calendar, not just the work hours
The electrical work may be finished in a day, but ESA notification and inspection can add calendar time. In Ontario, EV charger circuits are not a handyman job. Where notification is required, the Licensed Electrical Contractor files it, completes the installation, and the Electrical Safety Authority inspection process follows.
For a typical EV charger circuit, the ESA-related steps are:
- File the notification before or as the work is being arranged
- Install the dedicated circuit, breaker, wiring method, and charger connection
- Label the panel and equipment clearly
- Make the work accessible for inspection if ESA selects or schedules one
- Correct any defects if the inspector identifies an issue
- Keep the inspection documentation for your records, insurer, condo board, or future sale
The inspector is not there to decide whether you bought the right car charger app. The inspection is about electrical safety: conductor size, breaker rating, cable protection, grounding and bonding, GFCI requirements where applicable, working clearances, panel condition, and whether the installation matches the notification.
The timing can vary by area and ESA workload. A simple job can be installed before the physical inspection happens, as long as the notification process is followed and the work remains available as required. If the project involves a service upgrade, utility coordination becomes part of the schedule too. Toronto Hydro, Alectra, Elexicon, Hydro One, and other local utilities each have their own service-disconnect and reconnect processes.
If your EV delivery date is fixed, do not wait until the night before to ask about permits. Read whether an EV charger needs a permit in Ontario before you book the work, especially if a condo board, landlord, or utility step is involved.
Panel capacity is the biggest reason an EV install becomes a larger project
An EV charger install takes longer when the existing panel cannot safely support the charging load. A Level 2 charger is a large continuous load, so the electrician needs to look at the whole service, not just whether there is an empty breaker space.
Before scheduling, we look for issues such as:
- 100-amp service already carrying electric range, dryer, air conditioning, hot tub, or heat pump loads
- No available breaker spaces, or tandem breakers used where they may not be suitable
- Older fuse equipment or a panel that is not in good condition
- Aluminum branch wiring or mixed wiring conditions near the panel
- Charger amperage set higher than the home can support
- Detached-garage feeds that are too small for the proposed charger
If capacity is available, the install can often proceed normally. If capacity is tight, a load-management device may allow safe charging without upgrading the whole service. If the home needs more service capacity, the charger may be scheduled with a panel upgrade instead.
That changes the timeline. A 100A-to-200A panel upgrade in the GTA typically costs $3,200–$4,500 including the panel, labour, ESA permit, and inspection, and it involves utility coordination as well as the electrical work. The panel change itself is commonly a one-day job, but the booking and inspection steps make it a larger calendar item than a simple charger circuit.
If you already know your panel is the limiting factor, compare the timing with how long an electrical panel upgrade takes. If your main question is budget, Tesla charger installation cost explains the difference between short runs, long runs, and capacity upgrades.
The fastest installs happen when the pre-install information is complete
The quickest way to get an accurate install time is to send the charger model, panel photos, parking location, and distance before the appointment. With that information, the electrician can plan the breaker, cable, conduit, wall penetration, and charger setup before arriving.
Send these details before booking:
- Charger make and model, including whether it will be hardwired or plug-in
- Vehicle model if you know it, because charge-port location affects mounting
- Photo of the full electrical panel with the door open
- Photo of the panel label or breaker directory, if readable
- Photo of the area around the panel, including working space
- Photo of the intended charger wall or parking location
- Approximate distance from the panel to the charger location, measured along the likely route, not straight through walls
- Whether the garage or basement ceiling is finished
- Whether the charger is indoors, outdoors, in a detached garage, or in a condo/shared parking area
- Desired charging amperage, if your charger allows settings
Good photos prevent the most common scheduling surprises: no breaker space, a finished ceiling hiding the route, a charger bought for higher amperage than the panel can support, or an outdoor location that needs a different wiring method.
For a simple attached-garage installation with capacity available, we aim to make it a single scheduled visit. For long runs, exterior work, detached garages, condos, or service upgrades, we confirm the sequence in writing so you know what happens first, what can be done on install day, and what depends on ESA or utility timing.
If the vehicle is already in the driveway and you need a practical day-of-work overview, see what to expect on EV charger install day. For more electrical timing questions, the answers hub covers related permit, panel, and installation topics.
Want a licensed electrician to take a look?
Free written quote, usually the same day. ESA permits handled.
People also ask
Can an EV charger be installed before the car arrives?
Yes. In many cases the charger can be installed, inspected, and ready before vehicle delivery. The electrician still needs the charger model, planned parking position, and preferred mounting location. If you do not have the car yet, use the expected charge-port side and leave enough cable reach for how you normally park.
Will my power be off during the EV charger installation?
Usually only briefly for a simple charger circuit, mainly while the breaker is installed and final connections are made at the panel. A panel upgrade is different: it requires a longer outage and utility coordination. If you work from home or have medical equipment, tell the electrician before scheduling so the shutdown can be planned.
Does ESA have to inspect before I use the charger?
The Licensed Electrical Contractor must follow the ESA notification process where required, and the work must be available for inspection. Inspection timing can vary. For many residential jobs the installation is completed first and ESA inspection follows according to their process, but you should keep the documentation and follow any instructions tied to the notification.
What makes an EV charger install take more than one day?
The usual reasons are a long finished-wall route, outdoor trenching, detached garage wiring, condo approvals, load management, or a panel upgrade. The charger itself mounts quickly; the time is in providing a safe dedicated circuit, protecting the wiring, confirming capacity, and coordinating ESA or utility steps when required.